The little practice rectangle
A free 16-stitch exercise for practicing single crochet, steady edges and counting each row.
What this little exercise is for
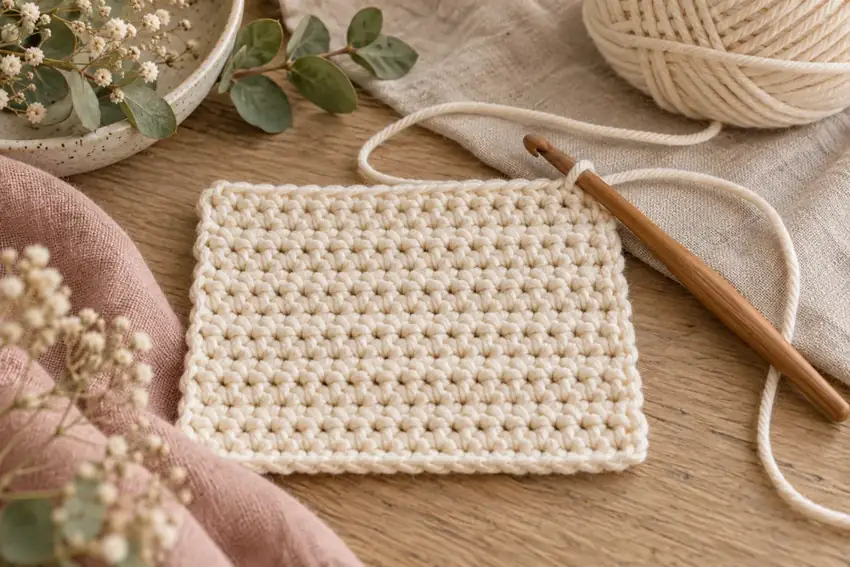
This original practice pattern is a small rectangle worked back and forth in US single crochet. Its job is to help you recognize the first and last stitches, keep a steady stitch count and get comfortable turning your work. It is not a size-specific household item, garment or toy.
The written counts have been checked for consistency, but this draft has not been physically made and tested. Use a small amount of practice yarn and record what you notice. The fabric may look taller, shorter or less even than a schematic, especially during your first sessions.
Gather your materials
Choose a small amount of smooth yarn in a light solid color, a hook within the yarn label’s suggested range, two removable stitch markers, scissors and a blunt yarn needle. Keep a ruler handy to record the measurements you actually achieve. There is no promised finished size or yardage for this practice draft.
You should already be able to make a slip knot, chain and US single crochet. If any of those steps are unfamiliar, read the chain and single crochet lesson first. Work comfortably rather than pulling each loop tightly against the hook.
Read these rules before row one
US terms: ch = chain, sc = single crochet, st = stitch, sts = stitches. The loop on the hook is not a chain or a completed stitch. A turning chain is used only to lift the yarn to the next row: it never counts as a stitch in this exercise.
Work through both top loops of each completed stitch from row 2 onward. Place a marker in the first and last completed single crochets, not in the turning chain. Move those markers as each new row is made. There are no increases or decreases.
- Foundation: 17 chains, not counting the loop on the hook.
- Every completed row: exactly 16 single crochets.
- Total: 16 rows; the foundation chain is not row 1.
- Turning chains: chain 1 before each row from row 2 onward; never work into that chain.
Row 1: make the foundation row
Chain 17. Find the second chain from the hook: skip the chain nearest the hook, then insert the hook into the next chain. Make one single crochet there. Work one single crochet in each remaining chain, including the final chain.
Count the completed single crochets. You should have 16. Mark the first and last. If your count is different, inspect the chain sequence before beginning the next row. Do not add a stitch into the loop on your hook or work again into a chain already used.
Rows 2–16: keep the same count
For row 2, chain 1 and turn. Make one single crochet in the first single crochet of the previous row and in each single crochet across. Work through both top loops. Stop after the last marked stitch, before the turning chain. Count: 16 single crochets.
Repeat that same instruction for rows 3 through 16: chain 1, turn, single crochet in each of the 16 stitches. Move your edge markers and count after every row. Do not chain 1 to start another row after row 16 unless you deliberately want to continue the exercise.
Finish, measure and notice
After row 16, cut the yarn with enough tail to weave through several stitches. Pull the tail through the remaining loop on the hook and gently secure it. Weave the ends into the fabric without pulling the edges inward. Remove the markers.
Lay the fabric flat without stretching it. Record the width and height, the yarn and the hook size. Look at whether the first and last rows have similar widths. A 16-stitch by 16-row rectangle is not automatically square, because stitch width and row height differ.
If the width changes steadily, compare stitch counts first. If each row has 16 stitches, look for changes in tension instead of adding or removing stitches. Undo a few rows and repeat them if that makes the stitch structure easier to understand. The useful result is a small piece you can read, not a perfect shape on the first attempt.