Floating rectangles quilt: one easy block turned two ways (42 × 54 inches)
🖨️ Prefer to sew from paper? Printable PDF patterns are in our Etsy shop ↗
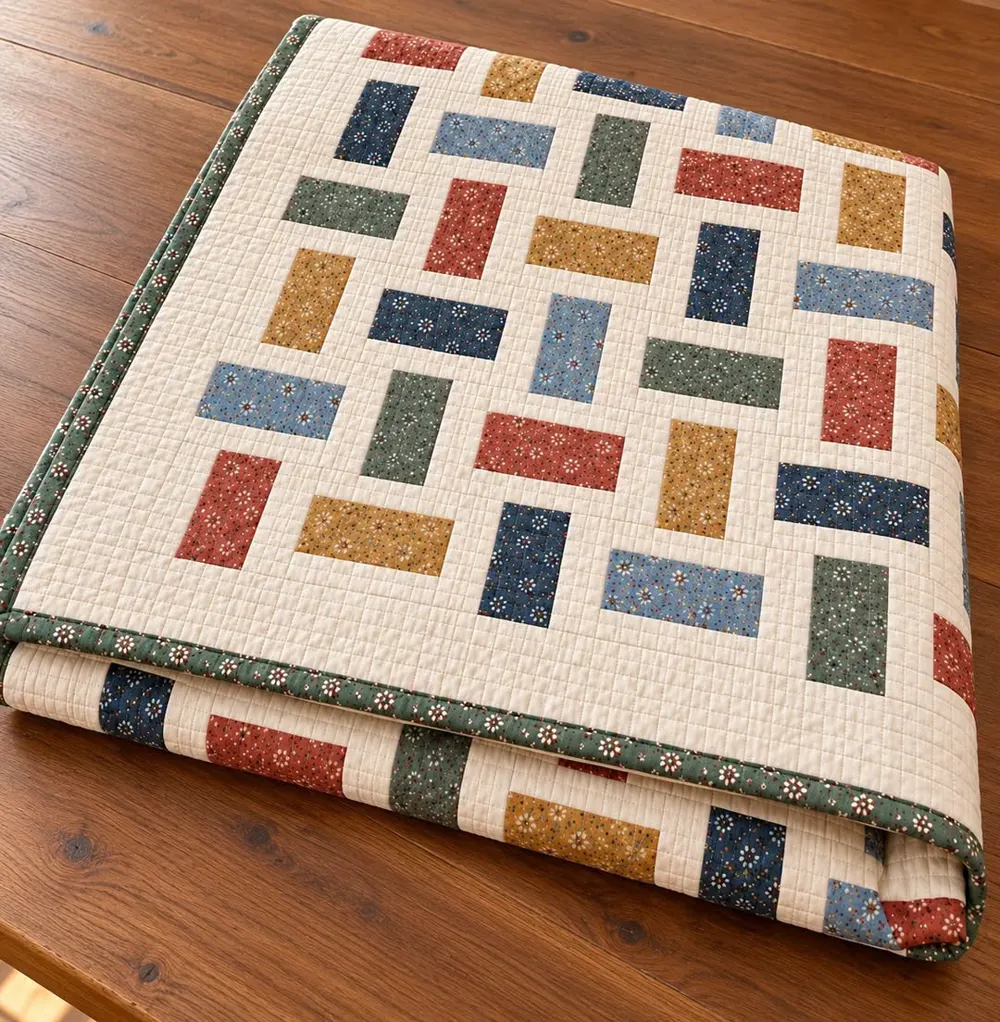
Colorful rectangles float on a cream background, some lying down and some standing up. One easy block, perfect for beginners, finished at 42 × 54 inches.
Complete guide · No signup required
The easiest quilt that looks designed
Every block in this quilt is the same: one print rectangle surrounded by cream. Turn half the blocks a quarter turn and the rectangles seem to float and tumble across the quilt, some lying down, some standing up.
Red, blue, mustard, green and soft sky blue look lovely on a creamy background, and a green binding frames the whole thing. It is a perfect first quilt.
Quilt size and what it is made of
All measurements include a ¼-inch seam allowance unless they say finished.
| Part | Size | How many |
|---|---|---|
| Finished quilt | 42 × 54 in | 1 |
| Blocks | 6½ in (6 in finished) | 48 |
| Print rectangles | 2½ × 4½ in | 48 |
| Cream border | 3 in finished | 4 strips |
Fabric and supplies
Six colors, eight rectangles of each, give a nice balance.
- Prints: 6 strips 2½ inches wide or scraps (48 rectangles)
- Cream: 2 yards
- Green binding: ½ yard
- Backing: 3 yards
- Batting: 50 × 62 inches
Step 1: Cut the pieces
Cut the cream pieces from 2½-inch strips.
| Fabric | Cut | How many |
|---|---|---|
| Prints | 2½ × 4½ in | 48 |
| Cream | 2½ × 6½ in (16 strips) | 96 |
| Cream | 1½ × 2½ in (4 strips) | 96 |
| Cream | 3½ in strips (border) | 5 |
| Green | 2½ in strips (binding) | 6 |
Step 2: Make 48 blocks
Sew a 1½ × 2½-inch cream piece to each end of a print rectangle. Press toward the print. The row measures 2½ × 6½ inches.
Sew a 2½ × 6½-inch cream strip to the top and to the bottom. Press toward the center. The block measures 6½ inches.
Step 3: Lay out the blocks
Lay out 8 rows of 6 blocks. In the first row, the first block lies across, the second is turned a quarter turn, and so on. Start the second row with a turned block. Spread the colors so no two of the same touch.
Step 4: Sew the rows and join them
Sew the blocks into rows, then join the rows. The center measures 36½ × 48½ inches.
Step 5: Add the cream border
Join the 3½-inch strips. Sew strips to the sides (48½ inches), then to the top and bottom (42½ inches). The top measures 42½ × 54½ inches.
Step 6: Quilt and bind
Cut the backing into two pieces 54 inches long and sew them together. Layer, baste and quilt: a crosshatch grid, like in the photo, is easy with a walking foot.
Join the 6 green binding strips and bind.
Fixing common problems
Simple blocks, simple fixes.
- Blocks not square: trim them all to 6½ inches before joining.
- Rectangles not centered: check that both small cream pieces are exactly 1½ inches.
- Seams do not meet: press the seams of neighboring rows in opposite directions.
- The quilt looks too plain: add one or two bright colors as surprises.
Final thoughts
Make it with Christmas prints, or in pinks and lilacs for a baby gift. Want more cozy projects with every measurement worked out? Our printable PDF patterns are waiting in our Etsy shop, and our free guides are always here.