Read a quilt cutting list without mixing up finished and cut sizes
Learn what cut size, unfinished size, finished size and width of fabric mean, with a worked strip-cutting example.
Start with the words beside the number
A quilt pattern may give several measurements for the same piece at different stages. Cut size is the size you cut from fabric. Unfinished size usually includes the raw seam allowances needed for later assembly. Finished size refers to the portion visible after those assembly seams, or to the completed project, depending on context.
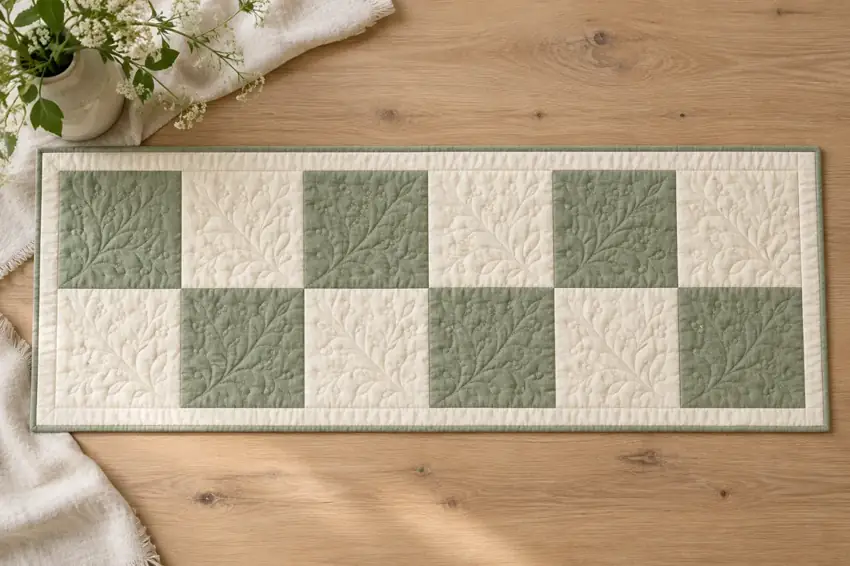
Do not add seam allowances automatically to a cutting list. Many lists already include them. Read the pattern notes and any diagram labels first. If a measurement is unclear, resolve it before cutting; an attractive cover image cannot tell you which allowance the designer intended.
A square example you can check
For a simple square that must finish at 4 inches inside a pieced block, quarter-inch seams on both opposing edges normally require a 4½-inch cut square. The extra half inch is two quarter-inch allowances, not one half-inch seam. This arithmetic applies to a simple square with ordinary straight seams.
Do not apply that shortcut to every triangle or specialty unit. Half-square triangles, flying geese and other units may start oversized for trimming or use method-specific cutting formulas. Follow the technique and trimming instructions rather than calculating a triangle from its visible finished shape.
Turn the list into labeled piles
Read each fabric label and identify its role: background, accent, border, backing or binding. Count the required pieces before starting. Keep pieces with similar measurements in separate labeled stacks. Tick the list only after a stack has been counted and checked with the ruler.
For directional prints, add an arrow to the paper label showing the intended top of the motif. Rotating a rectangle may save fabric but change how the print appears in the finished layout. A cutting plan must respect direction as well as area.
Work through a width-of-fabric example
Suppose you need twenty-four 2½-inch squares and have 40 usable inches across the fabric after excluding the selvages. One strip cut 2½ inches wide across that usable width can yield sixteen 2½-inch squares: 40 divided by 2½ is 16. Two strips provide up to thirty-two squares, so two are enough for the required twenty-four.
Those two strips use 5 inches along the length of the fabric, before allowing for straightening the edge, errors, shrinkage or the requirements of a directional print. That is a cutting exercise, not a complete shopping recommendation. A project also needs its other pieces, backing and binding. Always round strip counts up, because a fraction of a full strip does not satisfy the cutting plan.
Check the actual fabric, not only the bolt label
Usable width may be smaller than the advertised width. Measure after any preparation required by the pattern. A fat quarter and a quarter-yard strip have different shapes even if their areas are similar; one cannot always replace the other in a cutting layout.
For a repeated motif, decide whether every piece must show a particular part of the print. Fussy cutting can use substantially more fabric than a plain geometric cutting plan. Make a paper layout or use spare fabric for a trial before buying the minimum listed amount.
Pause before batch cutting
Cut and sew one representative unit first. Confirm its unfinished measurement and check that it fits the next assembly step. Then complete the remaining cuts in clearly labeled batches. Keep offcuts until the quilt top is complete; a small spare may fix a cutting mistake without opening another fabric length.