Project overview
- Skill level
- Beginner · US terminology
- Finished size
- Main rectangle at target gauge: approximately 6 × 2⅔ in (15.2 × 6.8 cm). Gathering reduces the center height and may slightly reduce the overall width; the assembled bow has not been measured.
- Gauge
- Planning target for the main rectangle: 16 sc and 18 rows = 4 in (10.16 cm). The center band is fitted around the gathered fabric rather than forced to a fixed circumference.
- Testing status
- Written draft — maker testing pending
Materials & tools
- Smooth medium-weight cotton yarn: allow approximately 30 yd (27 m) for the rectangle, band and finishing. This is an unmeasured planning allowance, not tested consumption.
- A hook suitable for your yarn; try 4.5–5 mm as a starting range and adjust for your sample.
- Two removable stitch markers, a blunt yarn needle, scissors and ruler.
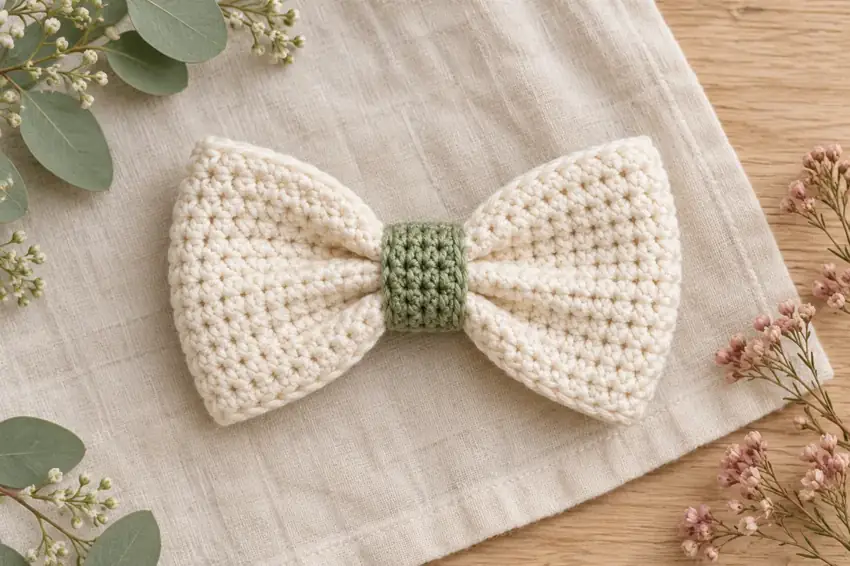
- Optional: a small scrap of a contrasting cotton in the same weight for the center band, as suggested by the concept image. It is included within the planning allowance above, not a measured separate yarn quantity.
Abbreviations & stitch notes
- US terminology: ch = chain; sc = single crochet; st / sts = stitch / stitches.
- Ch 1 to turn; the turning chain never counts as a stitch in either piece.
For a refresher, use our chain and single crochet lesson, double crochet lesson, or US / UK terminology referenceCalculate stitches from your gauge →.
Let's make it, step by step.
Read the full pattern once before starting. Optional checkboxes help you follow the sequence for this page view only.
- 24 sc
Chain 25. Sc in the second chain from the hook and each remaining chain. Mark both edge stitches.
- 24 sc per row; 12 rows total
For each row: ch 1, turn; sc under both top loops of the first stitch and each stitch across. Do not work into the turning chain. After row 12, fasten off and weave the rectangle's ends.
Lay the long edges horizontally. Pinch the midpoint into small accordion folds. Hold the pinch with a separate strand, wrap it a few times around the center, secure with small sewing passes and conceal those tails in the center.
- 3 sc
With a new strand, chain 4. Sc in the second chain from the hook and each remaining chain.
- 3 sc per row; 8 rows initially
For each row: ch 1, turn; sc in all three stitches. Leave the working yarn attached after row 8 while checking the fit.
Wrap the band around the gathered center, with its short ends meeting at the back. Add or remove complete three-stitch rows until it fits comfortably. Fasten off with enough tail to sew the short ends together.
Sew the band's short ends together at the back. Add a few small sewing passes through the band and the gathered center to prevent slipping. Weave remaining ends, inspect both sides and gently reshape the wings.
Construction, finishing & helpful notes
A decorative bow without shaping stitches
This bow is made from two flat pieces. The main rectangle provides the wings; a narrow band wraps around its gathered center. You do not increase, decrease or join a round. Work the two pieces separately, inspect them flat, then adjust the center band during assembly.
The pattern ends with a decorative bow motif. It does not include a hair clip, pin, elastic or other attachment. Decide how to use it after checking its size and securing the assembly.
Keep the rectangle even
A smooth, solid-color yarn makes the stitch tops easy to see. Mark the first and last sc of each row. Begin the next row in the first stitch beneath the chain-one, then stop after the final marked stitch. Do not add a stitch into the old turning chain.
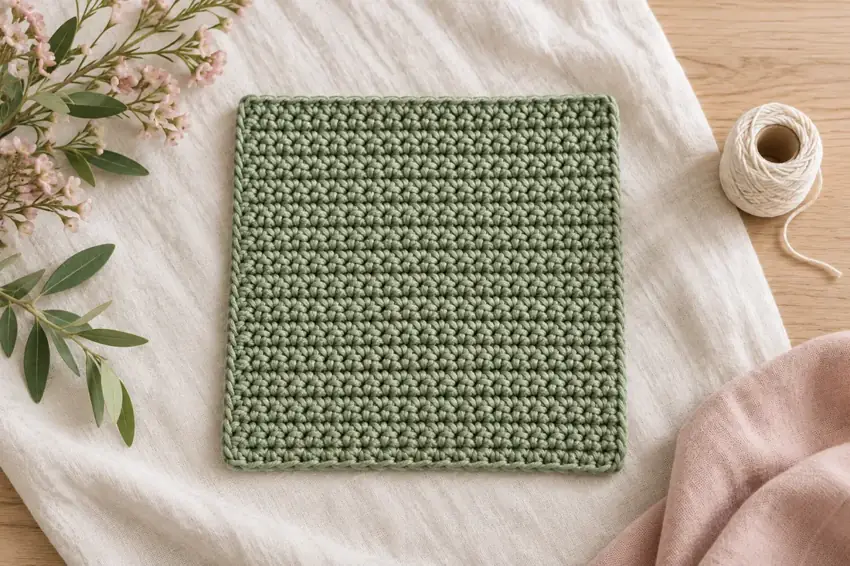
The main rectangle contains 24 sc in every row and twelve rows overall. At the planning gauge, the width is 24 divided by 16, multiplied by four inches: six inches. Twelve rows at eighteen rows per four inches give a height of about 2⅔ inches. These are calculated measurements, not the dimensions of a maker-tested sample.
Gather the center before fitting the band
Lay the finished rectangle with its long edges horizontal. Find the midpoint of its width. Pinch the fabric at that midpoint from the top long edge toward the bottom long edge, forming two or three small accordion folds. Spread the left and right wings with your fingers until they look balanced.
Use a separate strand of yarn to hold the pinch with a few wraps around the gathered center. Secure that strand with a few sewing passes through the folds, then weave its ends into the center where the band will cover them. Keep this temporary gathering slim; a thick bundle is harder to hide neatly.
Fit the center band rather than stretching it
The starting band is three sc wide and eight rows long. Wrap its long dimension around the gathered center with the band ends meeting at the back. The band should hold the shape without crushing the wings or pulling the bow into a hard knot.
If the ends do not meet comfortably, add rows one at a time before fastening off the band. If there is excessive overlap, undo rows. Yarn thickness and the amount gathered affect this fit, so eight rows is a starting instruction rather than a guaranteed circumference. Preserve three stitches in each added or removed row.
With the fit checked, sew the band's short ends together at the back. Take a few small securing stitches through the band and the gathered center so the band cannot slide off. Inspect the front after each pass; the sewing yarn should not flatten the visible wings.
Finish with a small quality check
Weave every tail through supported stitches and gently flex the bow before trimming. Check that the band stays centered and the wings sit at a similar height. You can reshape a slightly uneven pinch before securing the band, but a badly tapered main rectangle is easier to fix while it is still flat.
For a smaller or larger future bow, change the rectangle proportions deliberately and fit a new band to the result. A much thicker yarn can make the same stitch count bulky even when the width looks attractive. A sample tells you more than simply swapping hook sizes.
The original instructions have been checked for count consistency but have not been physically made and tested. Keep notes of the finished width, yarn use and band length that worked for you. Follow the yarn label for washing, and support the bow's shape while drying rather than pulling the band tight again afterward.
Video help for the techniques
These external tutorials explain stitches or finishing used in this recipe. Follow this page for the project's exact counts, placement and assembly.
How to Single Crochet (SC) — Yarnspirations / Red Heart Design Team ↗Weave In Ends in Crochet — Yarnspirations ↗Browse all technique references →Keep your next make a little easier.
Save yarn, hook, gauge and measurement notes using our free starter checklist.
Open the free checklist ↗