Project overview
- Skill level
- Intermediate · US terminology
- Finished size
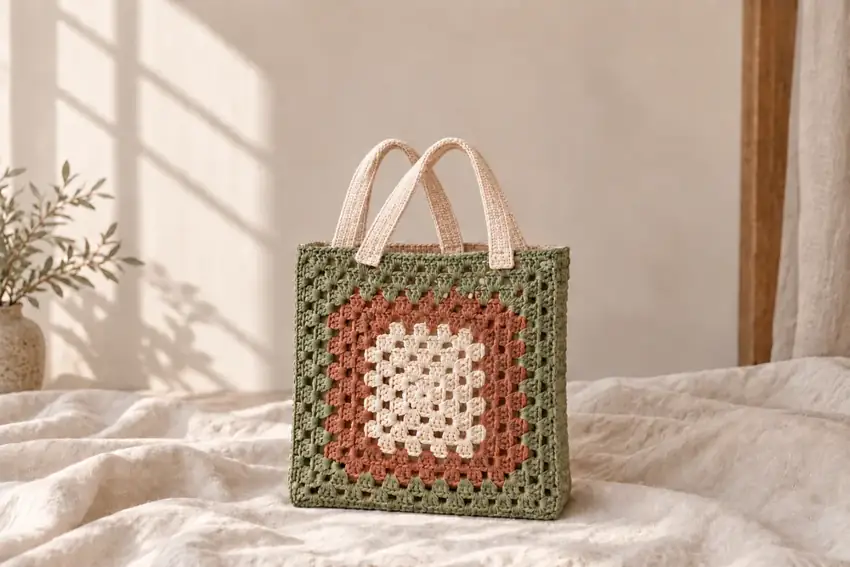
- Target body panels: 15 × 15 in (38.1 × 38.1 cm) each before seaming. Each strap is calculated at 1.5 × 20 in (3.8 × 50.8 cm); attaching 1.5 in of each end leaves about 17 in of free strap length. Actual bag size, stretch and strap drop require testing.
- Gauge
- Target one washed 12-round granny panel at 15 in (38.1 cm) square. Straps: 16 sc and 18 rows = 4 in (10.16 cm), so 6 sc × 90 rows calculates to 1.5 × 20 in. Swatch granny and strap fabrics separately; different hook sizes may be needed.
- Testing status
- Written draft — maker testing pending
Materials & tools
- Category 4 / medium-weight sturdy cotton or cotton-rich yarn. Plan approximately 700 yd (640 m) total: 180 yd ivory, 200 yd dusty terracotta and 320 yd sage, including straps, joining and swatches. These are unmeasured planning estimates.
- A 4.5–5 mm hook as a starting range; adjust separately for the body-panel target and firm single-crochet straps.
- Four removable corner markers per panel, additional attachment markers, blunt yarn needle, scissors and measuring tape. This pattern has no lining, closure or added gusset.
Abbreviations & stitch notes
- US terminology throughout: ch = chain; sl st = slip stitch; sc = single crochet; dc = double crochet; st / sts = stitch / stitches; sp = space; RS / WS = right / wrong side.
- A granny group is 3 separate dc worked into one indicated space; it is not a cluster closed together. A corner is (3 dc, ch 2, 3 dc) in one corner space.
- In granny rounds the starting ch 3 counts as the first dc. Joining and travel slip stitches never count as additional stitches. Work joined rounds without turning.
- Strap ch 1 does not count as a stitch. Work sc under both top loops, including the first and last stitch.
For a refresher, use our chain and single crochet lesson, double crochet lesson, or US / UK terminology referenceCalculate stitches from your gauge →.
Let's make it, step by step.
Read the full pattern once before starting. Optional checkboxes help you follow the sequence for this page view only.
- Two identical panels; two straps
Make a sample granny panel and single-crochet strap swatch. Aim for a 15-in square after twelve granny rounds and firm strap fabric at 16 sc and 18 rows per 4 in. Record actual sizes. The bag is unlined openwork, so choose its intended contents accordingly.
- 12 dc, then 24 dc
Ch 4 and sl st in the first ch to make a ring. Ch 3 (counts as the first dc), work 2 dc in the ring, ch 2. Work (3 dc in the ring, ch 2) three times. Join with a sl st to the top of the starting ch 3. Do not turn. Mark all four ch-2 corner spaces. After every later round, move the markers to the four newly made ch-2 corner spaces. Continue with round 2: Sl st in the next 2 dc, then sl st into the next ch-2 corner space. Ch 3, 2 dc, ch 2, 3 dc in that same corner. Ch 1. Work (3 dc, ch 2, 3 dc) in the next corner, ch 1; repeat that corner-and-ch-1 sequence twice more. Join to the top of the starting ch 3. Do not turn.
- Round 4: 16 groups / 48 dc
For each new round, sl st across the next 2 dc and into the next ch-2 corner. In that corner work ch 3, 2 dc, ch 2, 3 dc. Ch 1. Along the next side, work (3 dc in the next ch-1 space, ch 1) in every existing ch-1 side space. In the next corner work (3 dc, ch 2, 3 dc), then ch 1. Repeat across the next two sides and corners in the same way. After the fourth corner, work the last side’s (3 dc, ch 1) repeats, then join to the top of the starting ch 3. Do not add a fifth corner and do not turn. In round r, each side uses r−2 existing ch-1 spaces; round 3 therefore has one such space per side. Work rounds 3–4 in ivory. Dc totals are 36 and 48; side ch-1-space totals are 8 and 12.
- Four terracotta rounds
At a change after a completed round, fasten off the old color. With the next color, make a slip knot, place it on the hook and sl st into any ch-2 corner of the most recently completed round. Start the next round there with ch 3, 2 dc, ch 2, 3 dc. Skip the travel slip stitches for that round only. Leave tails long enough to weave securely; do not tie short tails and trim them at the join. Use the same granny-round sequence for rounds 5–8. Dc totals: 60, 72, 84, 96. Side ch-1-space totals: 16, 20, 24, 28. Every round retains four ch-2 corners.
- Round 12: 48 groups / 144 dc
At a change after a completed round, fasten off the old color. With the next color, make a slip knot, place it on the hook and sl st into any ch-2 corner of the most recently completed round. Start the next round there with ch 3, 2 dc, ch 2, 3 dc. Skip the travel slip stitches for that round only. Leave tails long enough to weave securely; do not tie short tails and trim them at the join. Use the same sequence for rounds 9–12. Dc totals: 108, 120, 132, 144. Side ch-1-space totals: 32, 36, 40, 44. Fasten off after round 12.
- Two matching 15-in square panels
Repeat the complete twelve-round panel instructions, including ivory rounds 1–4, terracotta rounds 5–8 and sage rounds 9–12. Weave tails and wash both panels consistently. Shape each to a relaxed 15-in square. Mark one whole side of each as its top opening.
- Three closed sides; one open top
Put panels WS together, matching corners and keeping both marked top edges uppermost. With sage and a needle, whipstitch the corresponding outer top loops of dc and the corresponding ch-1 links down one side, across the bottom and up the other side. At the two bottom corners, catch the matching ch-2 corner spaces together securely without bunching them. Leave the entire top side and both upper corner openings free. Secure the join and weave its tails.
- 6 sc
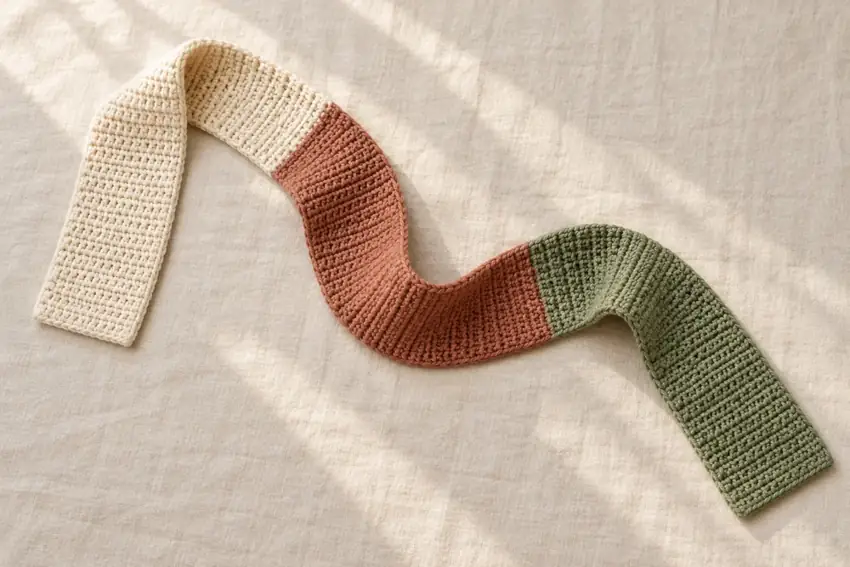
With ivory, ch 7. Sc in the second chain from the hook and every chain across. Mark the first and last sc.
- 6 sc × 90 rows
Ch 1 and turn; it does not count. Sc in the first stitch and every stitch across. Repeat for 89 additional rows, giving 90 rows total at 6 sc per row. Fasten off with a long sewing tail. Wash and settle the strap as the yarn allows; target 1.5 × 20 in.
- Two equal flat straps
Repeat the full 7-chain foundation and 90-row instructions for a second ivory strap. Weave the starting tail securely and leave a sewing tail at the finish. Both straps must have the same actual relaxed length.
- Four reinforced strap attachments
Lay the bag flat, one panel facing you. On that panel, mark strap-end center lines 3 in inward from each side seam along the top. Lay one strap in a U above the opening, with its two ends extending 1.5 in downward onto that same panel; keep the strap untwisted. Sew each end through sturdy portions of the panel with a small rectangular outline about 1 in tall, then cross that rectangle diagonally in both directions. Where open spaces occur, pass around supported dc posts rather than floating a stitch across a hole. Repeat on the opposite panel with the second strap at matching positions. Do not accidentally sew the bag opening shut.
- Unlined two-panel tote; no gusset
Secure and weave all sewing tails. Check each attachment from inside and outside, confirm both U-shaped straps are untwisted, and check that the opening is fully free. Start with very light contents while assessing how your made sample stretches. This draft has no tested carrying capacity.
Construction, finishing & helpful notes
The color frame is part of the construction
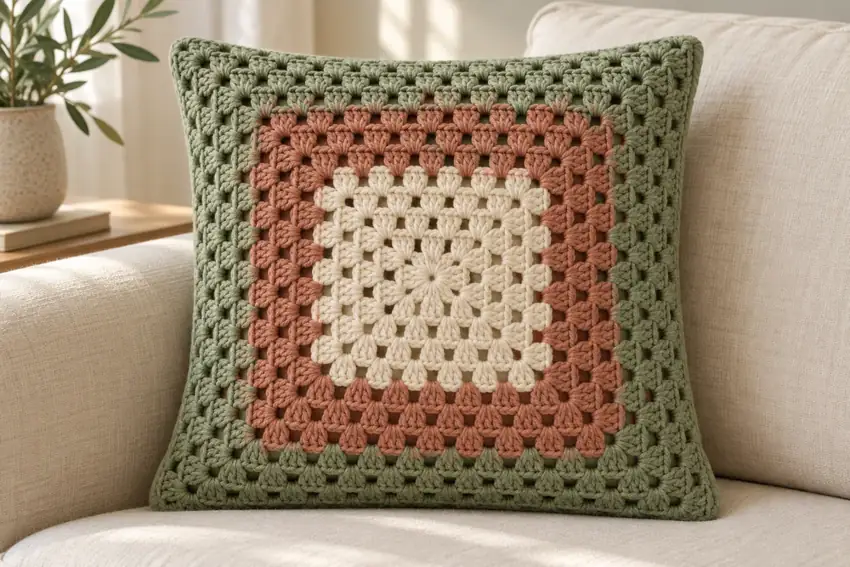
Each panel uses twelve concentric granny rounds: four ivory, four dusty terracotta and four sage. The outer rounds need more yarn than the inner rounds, so equal round counts do not imply equal yarn amounts.
Both panels must use the same count and sequence. A front with eleven rounds and a back with twelve cannot be joined stitch for stitch without distortion.
Granny counts provide a checkpoint
In round r, expect 4r groups, 12r dc, four ch-2 corners and 4(r−1) ch-1 side spaces. After round 12 there are 144 dc, including the starting ch 3, and 44 ch-1 spaces.
The general-round sequence adds one group to every side on each new round. If a panel bows along one edge, inspect that edge for a skipped or doubled side space before changing the hook.
Separate the strap gauge from the panel gauge
A 6-stitch-wide strap at four sc per inch is 1.5 in wide. Ninety rows at 4.5 rows per inch is 20 in long. After attaching 1.5 in at both ends, approximately 17 in remains between attachments. That free length is not the same as vertical strap drop.
Cotton fabric can still lengthen in use. If one strap settles longer after washing, correct it before sewing it on rather than hoping the other will catch up.
Sew for access and inspect the attachment areas
The strap for each side attaches twice to its own panel, never once to the front and once to the back. This leaves two U-shaped handles and a usable opening between them.
The open granny fabric does not supply a continuous solid patch beneath each strap. Sew through several supported posts and inspect the fabric for puckering or concentrated strain. Stop using the bag if an attachment begins to distort. The pattern does not promise a load rating.
Choose contents that suit an unlined bag
The body has granny openings and no added lining. Small loose items can escape, and pointed objects can catch in the stitches. Keep small essentials in a separate pouch.
This is a flat two-panel bag without a gusset, so the width changes as contents spread the fabric. A photograph cannot establish capacity; evaluate the actual sewn sample before planning its use.
Video help for the techniques
These external tutorials explain stitches or finishing used in this recipe. Follow this page for the project's exact counts, placement and assembly.
How to Crochet a Foundation Chain — Yarnspirations / Red Heart Design Team ↗How to Double Crochet (DC) — Yarnspirations / Red Heart Design Team ↗Weave In Ends in Crochet — Yarnspirations ↗Browse all technique references →Explore the Beyond the Basics collection →
Keep your next make a little easier.
Save yarn, hook, gauge and measurement notes using our free starter checklist.
Open the free checklist ↗