Project overview
- Skill level
- Easy · US terminology
- Finished size
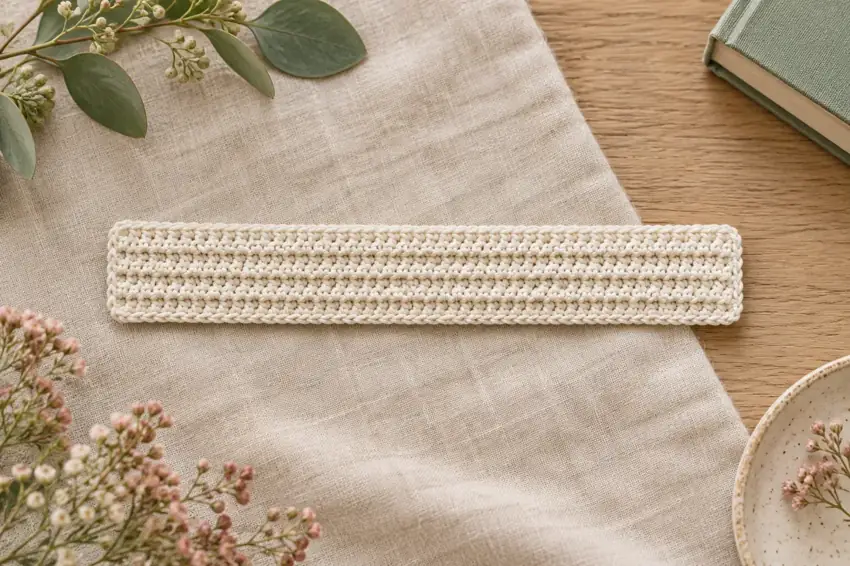
- Target strip before seaming: 4 × 20 in (10.2 × 50.8 cm). A butted seam gives an approximately 20-in relaxed circumference; fit must be checked on the intended wearer.
- Gauge
- Target: 16 back-loop single crochets and 20 rows = 4 in (10.16 cm), measured relaxed after washing and drying. Ribbing stretches; do not pull the swatch while measuring.
- Testing status
- Written draft — maker testing pending
Materials & tools
- Soft category 4 / medium-weight yarn in sage, suitable for next-to-skin wear. Set aside approximately 160 yd (146 m), including a swatch. Planning estimate only; actual use depends on yarn and gauge.
- A 5 mm hook as a starting point, or the size needed for a soft but stable fabric at the target gauge.
- Two removable markers, blunt yarn needle, scissors, flexible tape measure and yarn care label.
Abbreviations & stitch notes
- US terminology throughout.
- ch = chain
- sc = single crochet
- BLO = back loop only, the loop farther from you when looking at the top of the stitch in your current working position
- st / sts = stitch / stitches
For a refresher, use our chain and single crochet lesson, double crochet lesson, or US / UK terminology referenceCalculate stitches from your gauge →.
Let's make it, step by step.
Read the full pattern once before starting. Optional checkboxes help you follow the sequence for this page view only.
- 16 sc
Make a slip knot and chain 17. Single crochet into the second chain from the hook and each remaining chain. Mark the first and last single crochets.
- 16 BLO sc
Chain 1 and turn; the chain does not count. Single crochet into the back loop only of the first single crochet and each stitch across, including the marked final stitch. Move the markers.
- 16 stitches × 100 rows
Repeat row 2 for 98 further rows, giving 100 rows total. Every row has sixteen single crochets. Measure the strip relaxed. At target gauge it is approximately 4 inches wide and 20 inches long.
Wrap the strip comfortably around the intended wearer and bring its short edges together. Add or remove complete rows if needed; keep a note of the final count. Do not twist either end. When satisfied, cut a tail about 24 inches (61 cm) long and pull it through the final live loop.
- 16 paired stitch positions
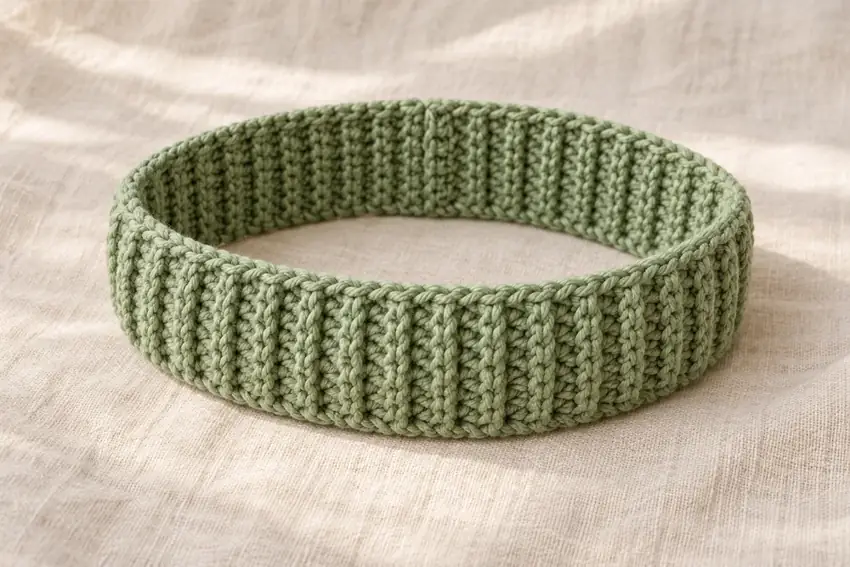
Place the foundation short edge next to the final-row short edge, edge to edge, with the same face of the strip outward and no half-turn. Thread the long tail onto a blunt needle. Whipstitch through corresponding edge loops across all sixteen stitch positions. Keep the seam loose enough to flex; do not overlap the ends or cinch the band.
Check that the loop is untwisted and the seam lies comfortably. Weave tails on the inside in more than one direction, then care for the band according to the yarn label. Let it dry relaxed and recheck fit. Do not label a size as tested until a wearer has checked the finished piece.
Construction, finishing & helpful notes
A plain join keeps the ribbing in focus
This headband starts as a narrow rectangle. Each short row runs across the band's four-inch width; the row count builds the circumference. Bringing the two short edges together makes a loop with vertical-looking rib lines around the head. The join is straight: there is no twist, knot or gathered front.
Counts and calculated dimensions have been checked as a written draft. The band has not been made and assessed for stretch recovery or comfort. Yarn choice matters as much as the stitch count; an elastic-feeling wool blend and a draping cotton will not behave identically.
Find a comfortable circumference
At the target gauge, sixteen stitches give four inches of width and one hundred rows give twenty inches of strip length. The butted seam joins edge to edge rather than overlapping them, so it does not intentionally remove a large section of length.
A twenty-inch relaxed band may suit some adult heads, but it is not a universal size. Before seaming, wrap the relaxed strip around the intended wearer with only comfortable stretch. Hold the short edges together without tightening them. If it is uncomfortable, adjust the row count; do not force the sample to match a generic head measurement.
Keep the first and last stitches visible
Row 1 uses both loops or a consistent strand of each foundation chain. Every later row uses only the back loop of each single crochet. Chain 1 provides turning height and never counts as a stitch. Work the first stitch immediately below it and the last marked stitch at the far edge.
The strip should remain sixteen stitches wide. A sudden narrowing is usually a missed last stitch, while a flared edge may come from working into the turning chain. BLO can make the last stitch look sideways; markers are more reliable than guessing from the apparent rib shape.
Change the size without changing the construction
For a wider or narrower band, choose your desired number of stitches W and chain W + 1. Keep that count on every row. For circumference, divide your chosen relaxed strip length by the measured height of one row. Round to a whole row and check the fabric against the wearer again before cutting yarn.
Try adding or removing rows in small batches. The target row gauge gives five rows per inch, so five rows change the strip length by about one inch before seaming. This is an estimate from the swatch; it does not predict how much stretch your finished band will retain after wear.
A seam that can move with the fabric
Lay the short edges together without rotating either end. Use a loose whipstitch through corresponding edge loops, one pair per stitch, and keep the tails on the inside. Check the seam after a few stitches; if it feels like a tight cord, redo it with more give.
Try the band on before final weaving and again after care according to the yarn label. If the ribbing stays stretched out after removal, choose a more resilient yarn or reassess the relaxed length. Record the final row total and fit for the next version.
Video help for the techniques
These external tutorials explain stitches or finishing used in this recipe. Follow this page for the project's exact counts, placement and assembly.
How to Single Crochet (SC) — Yarnspirations / Red Heart Design Team ↗Weave In Ends in Crochet — Yarnspirations ↗Browse all technique references →Explore the Beyond the Basics collection →
Keep your next make a little easier.
Save yarn, hook, gauge and measurement notes using our free starter checklist.
Open the free checklist ↗