Halloween Pumpkin Trio
🖨️ Prefer to sew from paper? Printable PDF patterns are in our Etsy shop ↗
Shape three warm-colored pumpkins with stitch-and-flip corners, piece their stems and finish the row with cream borders and charcoal binding.
- Raw pieced top
- 36½ × 14½ in
- Skill / units
- Confident beginner · inches
- Piecing seam
- ¼ inch, included in cut sizes
Read everything here without registering. Checkboxes keep progress only while this page remains open.
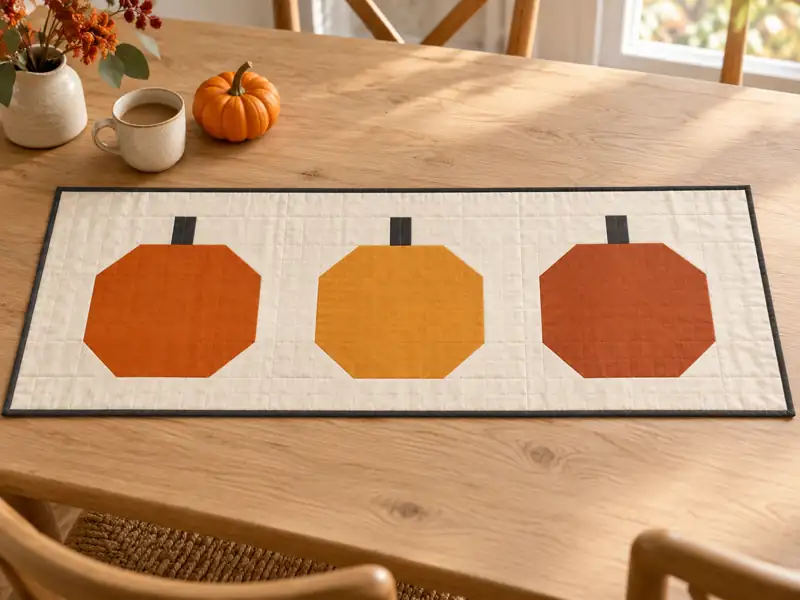
Complete written pattern · counts checked on paper. Adapted from our existing illustrated project edition and checked for written counts and assembly consistency. Fabric use, finished fit and behavior still need a physical sample. Raw-top measurements are not promises of the bound or washed size.
Fabric and tools
Amounts are planning allowances, not measured consumption from a sewn sample. Check usable fabric dimensions after preparation. For a quilting service or frame that needs more backing margin, increase the backing and batting before cutting.
| Fabric / purpose | Planning allowance |
|---|---|
| A burnt orange, B gold and C rust | 1 fat quarter each, at least 18 × 21 in |
| D charcoal · stems and binding | ½ yd |
| E cream | ¾ yd |
| Backing | ¾ yd; cut 18 × 40 in |
| Batting | 18 × 40 in |
- Sewing machine, coordinating thread and a ¼-inch foot or seam guide
- Rotary cutter, cutting mat, inch-marked quilting ruler and fabric marker
- Iron, pins or clips, basting supplies, quilting foot if available and a hand-sewing needle
Complete cutting list
All sizes below include seam allowance. Dimensions are width × height unless a specific step identifies fabric length or width of fabric (WOF). Do not add a second allowance. Mark each pile before sewing.
| Piece / fabric | Quantity | Cut size |
|---|---|---|
| A, B and C bodies | 1 square from EACH; 3 total | 8½ × 8½ in |
| D stems | 3 | 1½ × 2½ in |
| D binding | 3 strips | 2½ × 42 in |
| E body corners | 12 squares | 2½ × 2½ in |
| E body sides | 6 | 1½ × 8½ in |
| E stem backgrounds | 6 | 5 × 2½ in |
| E block gaps | 2 | 1½ × 10½ in |
| E top/bottom borders | 2 | 32½ × 2½ in |
| E end borders | 2 | 2½ × 14½ in |
01 Prepare and sort before cutting
Use quilting cottons with at least 42 inches of usable width after removing selvages. All cut sizes include ¼-inch seam allowances. Keep A, B and C in left-to-right order and use an inch ruler rather than rounded centimeter conversions.
A workable cream strip plan is five strips 2½ × WOF and three strips 1½ × WOF. Reserve two full 2½-inch strips for the long borders, then subcut the other cream pieces from the remainder. The individual piece quantities are the final checklist. Confirm the layout on the usable fabric before cutting.
02 Clip the first pumpkin corner
Place one orange 8½-inch body square right side up. Draw a diagonal on the wrong side of a cream 2½-inch corner square. Put the cream square right side down at the upper-left corner, with its outer edges aligned.
The seam runs from the left edge to the top edge, clipping the outside corner. Sew directly on the line. Fold the cream triangle outward to confirm it reaches the original body edges. If it does not, undo and correct the seam before trimming.
Fold back, then trim away the outside excess from both fabrics ¼ inch beyond the seam. Keep the seam allowance and the large body. Open and press cream into the corner.
03 Complete all four corners
Repeat on the other three corners, always orienting the diagonal to cut off the outside corner. Do not use the same diagonal direction at every corner. After pressing, trim only a tiny overhang if needed to restore the original outline.
Make one body in each orange fabric. Every body remains 8½ inches square; the color outline changes but the outside size does not. Three pumpkins use twelve cream corner squares. Do not stretch a bias edge to make a short corner cover.
04 Build the side and stem sections
Sew one cream 1½ × 8½-inch strip to each side of one body. Press toward cream. This section is 10½ × 8½ inches.
For its stem row, join cream 5 × 2½-inch rectangle + charcoal 1½ × 2½-inch stem + another cream rectangle along their 2½-inch edges. Press away from the stem and check 10½ × 2½ inches.
Join that row above the body, matching ends and center. Press toward the stem row. The complete block should measure 10½ inches square. Repeat for the other pumpkins.
05 Join the three pumpkins and add borders
Arrange A – cream gap – B – cream gap – C, with every stem at the top. The gap strips are 1½ × 10½ inches. Join with ¼-inch seams and press toward cream. Check a 32½ × 10½-inch center.
Sew the two 32½ × 2½-inch borders to its top and bottom. Press toward borders; the result is 32½ × 14½ inches. Add the two 2½ × 14½-inch end borders. The final raw top is 36½ × 14½ inches. Investigate any mismatch rather than pulling a border into place.
06 Layer, baste and quilt
Prepare backing and batting at least 18 × 40 inches, or larger if your quilting setup requires it. Keep both oversized until quilting is complete. The planned raw top is 36½ × 14½ inches.
07 Attach the binding and finish the back
Use 3 strips cut 2½ × 42 inches. This project joins the strips with straight seams and closes the final attachment with a tucked overlap. The estimated continuous strip length before end cleanup is 125 inches. Measure the actual prepared length before attaching it.
08 Inspect and record the result
The raw top perimeter is 102 inches. Three straight-joined 42-inch binding strips provide about 125 inches before the starting fold and overlap. Inspect that tucked finish on both sides and secure every corner.
Check all stems are upright, seams are closed, quilting meets the batting requirements, raw edges are covered and pins have been removed. Follow fabric and batting care labels. Record actual finished size and any shrinkage only after a made sample has been completed. This runner is decorative linen, not a heat-proof pad.
Keep these measurement checks beside you
| Stage | Raw / unfinished measurement |
|---|---|
| Pumpkin body | 8½ × 8½ in |
| Complete block | 10½ × 10½ in |
| Center with gaps | 32½ × 10½ in |
| After top/bottom borders | 32½ × 14½ in |
| Raw top | 36½ × 14½ in |
Check after pressing and cooling, without stretching. If an earlier unit is incorrect, correct it there before adding the next component.
Your project record
- Chosen fabrics, preparation method and usable widths.
- Quarter-inch seam test and first unit measurements.
- Actual backing allowance and batting quilting requirements.
- Quilting method, finished measurements and changes for a future version.
Written review: November 5, 2026. Images illustrate the design; diagrams explain placement. No physical test result is claimed.
Choose another complete project
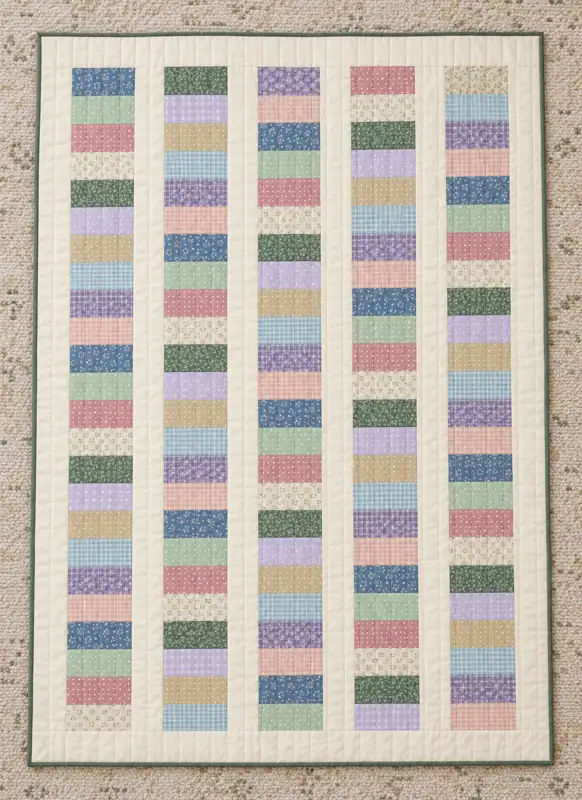
Cottage Bloom Strip Quilt
Build five botanical patchwork columns, separate them with ivory bands and finish a framed throw with a calm sage edge. Follow the complete 120-piece placement map below.
Raw top: 48½ × 66½ in
Read the full step-by-step →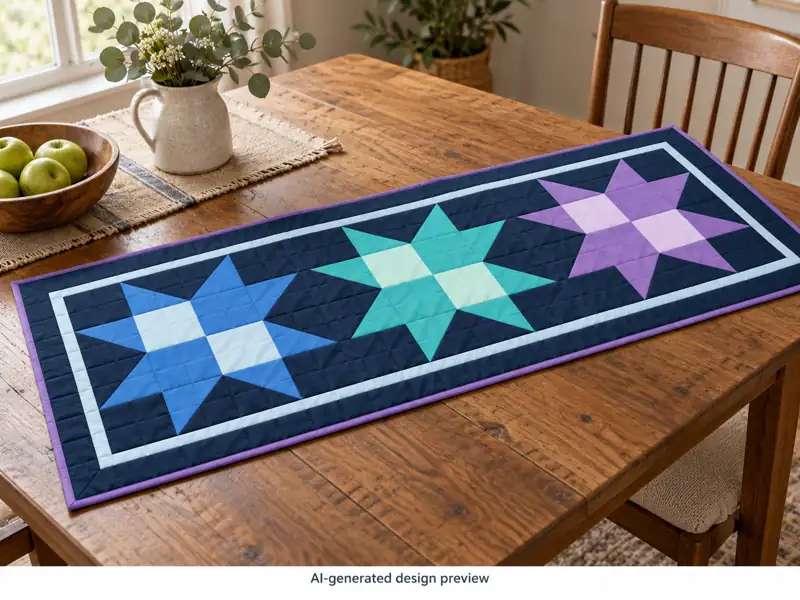
Northern Lights Star Runner
Piece three eight-point stars in blue, turquoise and violet, with four-patch centers, a narrow ice-blue frame and a deep navy ground.
Raw top: 42½ × 16½ in
Read the full step-by-step →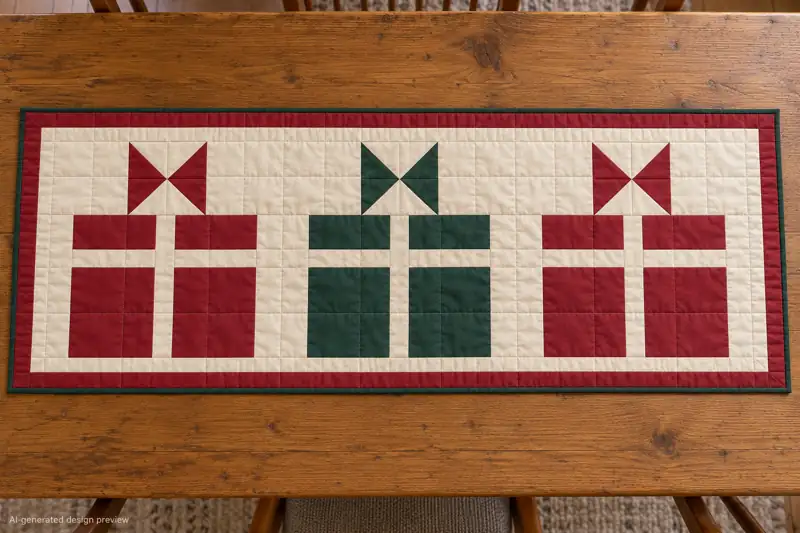
Wrapped in Joy Table Runner
Make three ribbon-wrapped presents with pieced bows, pale ribbons, a cranberry frame and a green bound edge. This complete recipe covers every cut and assembly stage.
Raw top: 42½ × 16½ in
Read the full step-by-step →